Winged Bowl Tips
Turning a Winged Bowl
Let me preface by saying there are multiple ways to turn a winged bowl, much as there are multiple ways to hold a block of wood. If a particular burl is too large to turn between centers, but has sufficient depth, I will generally (not always) turn a tenon. When I want to incorporate some of the natural side spikes on the bottom side (or a burl is not very deep) I might forego turning a tenon and turn between centers. Alternatively, if I want to minimize material loss, I might add a glue block using epoxy gel. I hope you find the tutorial that follows - of the Corrugata winged bowl in the slideshow at the top of the page - instructive. Should you have questions, don't hesitate to ask.

Mounting
For a burl this large (and even some smaller), I prefer to use a faceplate with stainless steel screws drilled directly into the burl at least one inch.

Shaping
Naturally, be sure to sharpen your gouge and rotate the burl by hand to ensure sufficient tool rest clearance before being to turn.

Shaping
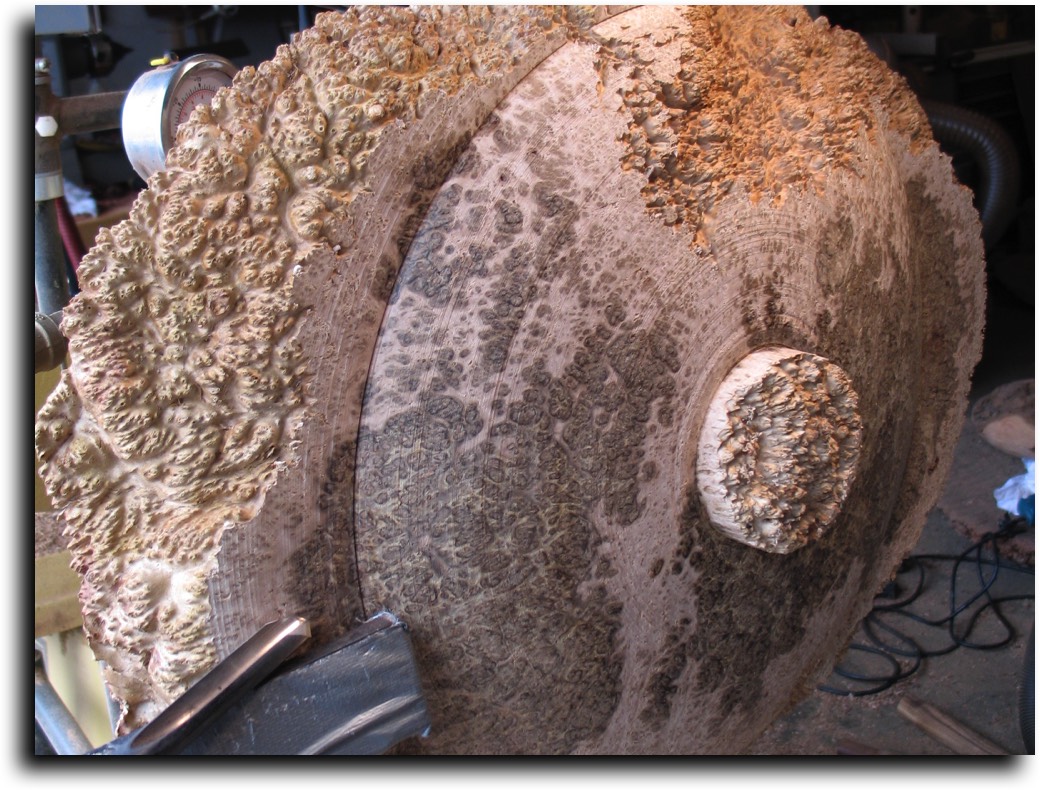
My first objective is to shape the exterior (bottom) of the bowl, deciding as I proceed whether I want to incorporate some of the natural exterior that is so appealing into the shape.

Defining
Because I always turn winged bowls twice and dry/stress relieve the roughed bowl in my kiln before final turning, it bears mentioning that you should expect some movement. Remember, you can always remove more material, but it's hard to add it back. So I try to err on the cautious side. In this particular case, I really like the hardwood/sapwood contrast coupled with the bit of natural exterior incorporated into the bowl above the tenon. Of note, I taper my tenons slightly in and make sure I turn a flat spot (tapered slightly toward the bowl) so the jaws of the chuck will have somewhat of a bearing surface to support the bowl.

Sheer Cutting
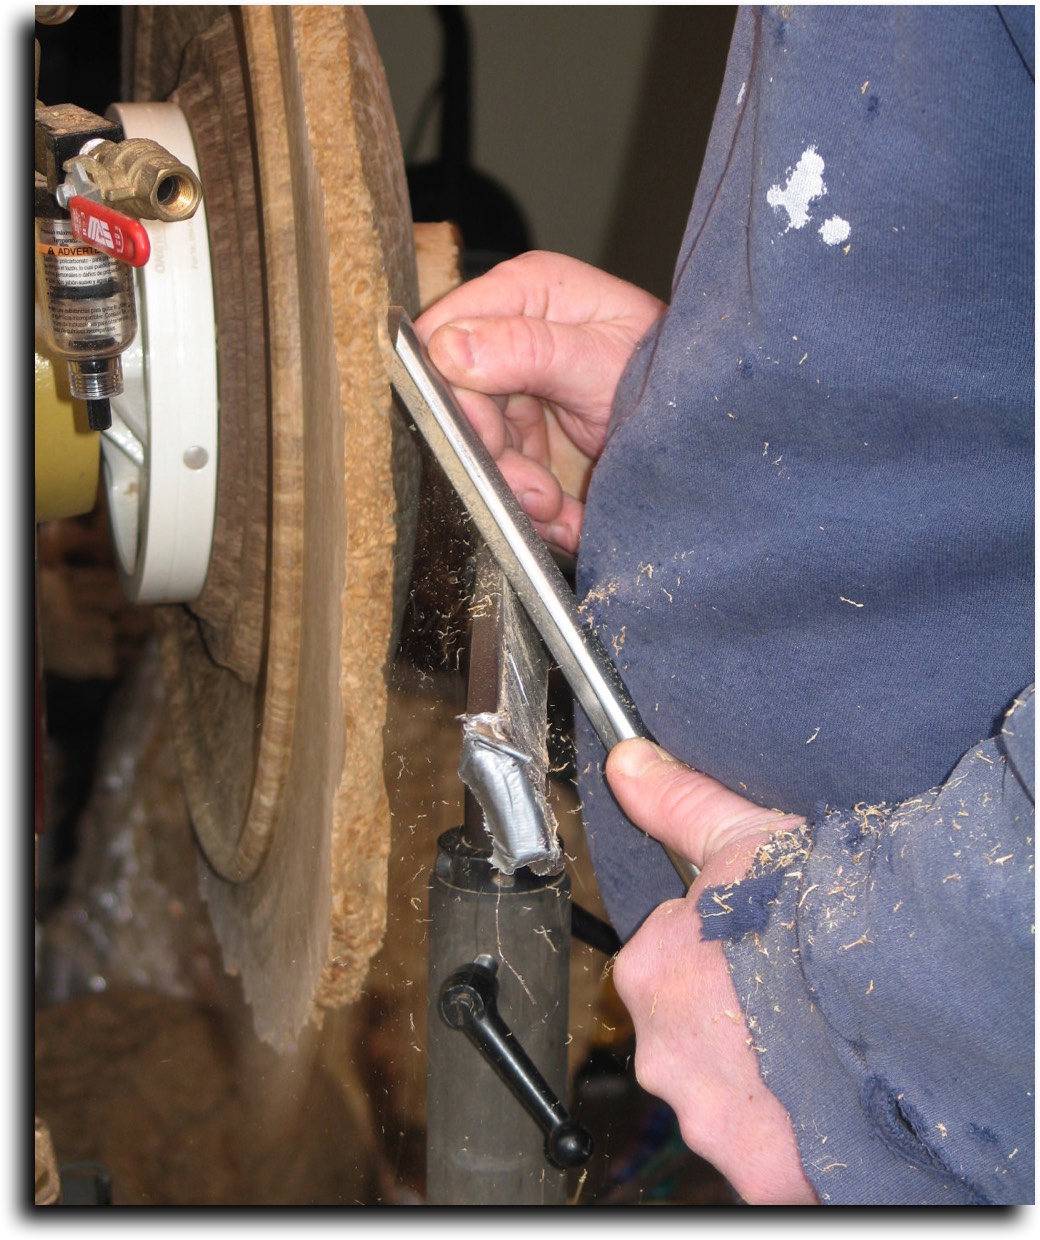
After learning the sheer cutting technique David Ellsworth teaches in his classes on natural edge bowls, I adapted his technique to the winged bowls I enjoy turning so much. Eucalyptus burl winged bowls can be prone to tearout on the wings. Proceeding from the outside edge to the intersection of the wings and bowl, I find this is a great way to remove any tearout and (with practice and a sharp gouge) get a very clean cut and minimize sanding.

Define the Top
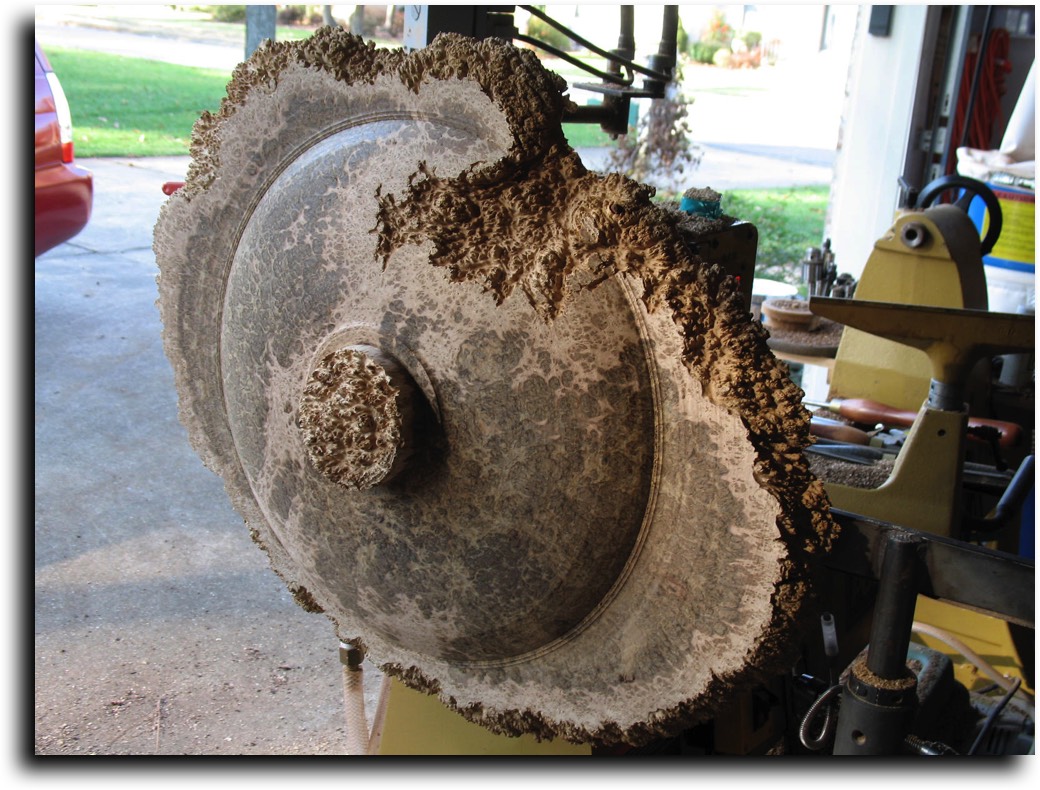
I prefer to at least define the top of the wings, a strip for a bead, and however much of the bowl I can reach to define with the faceplate still attached.

Finished Roughing
At this juncture, I consider the bowl sufficiently defined on the bottom to reverse it, chuck and carve the top part of the bowl prior to putting in in my kiln for at least one month (usually more).

Finishing the Roughing Process
As this was more than 10 years ago, I don't quite remember why I took a picture with the faceplate still attached, but it was apparently the only one I did take after reversing and chucking. I'm guessing I wanted to see how well I had it centered (by observing/feeling the faceplate in both the X and Y planes) in the chuck prior to final tightening and removal of the faceplate to finish roughing the top.

Vacuum Chucking
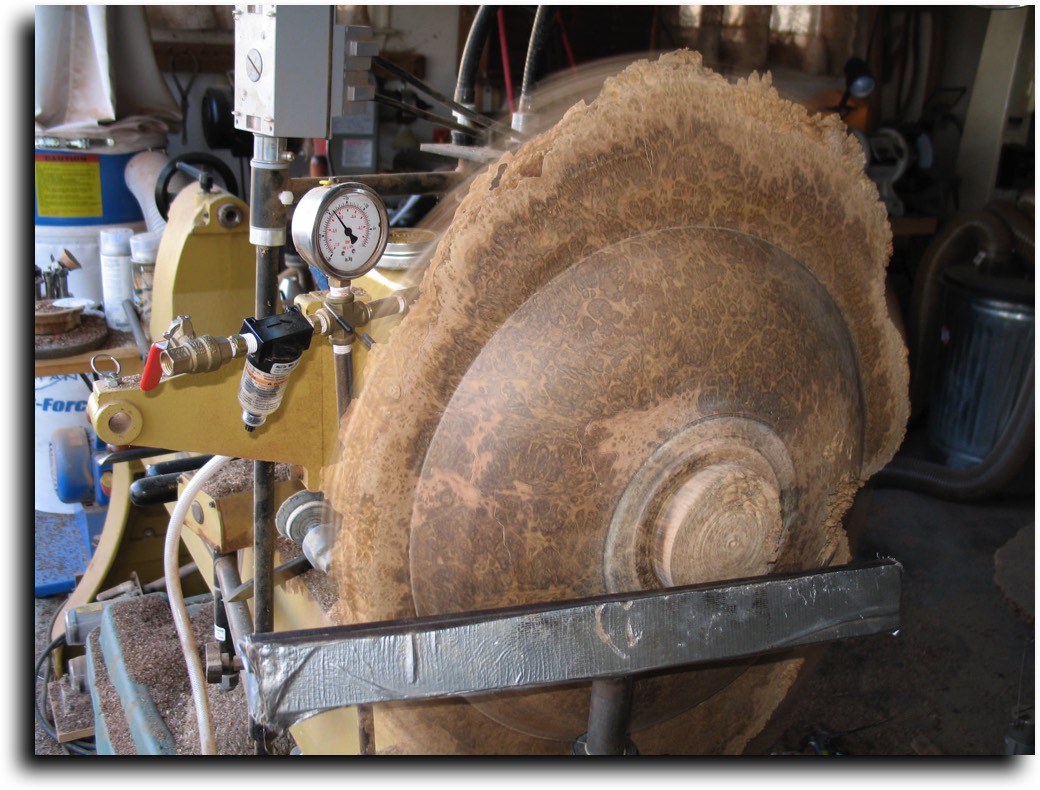
I always enjoy the process of centering (though winged bowls are more challenging than hollow forms) when reverse turning using a vacuum chuck. I take it as a challenge to see how quickly I can do so. Regrettably, when I turned this piece and took these pictures, taking quality digital video that was easily transferable for incorporating into a website was not quite as easy as it is today. The main challenge is that the bowl has to be properly aligned in two planes. I minimize vacuum so that the piece is moveable with the tap of a rubber mallet, but not too easily moveable. Then I usually start by aligning the wings with the tool rest. When satisfied the bowl is aligned in that plane, I then align the tool rest at the centerline of the piece, parallel to the tenon (leaving room to rotate). Rotating slowly by hand, I find the part of the bowl where my reference point on the tenon is furthest from the tool rest and move the piece approximately half the distance toward the tool rest. The process is repeated of course until the bowl runs true. Naturally, trueness in both planes needs to be re-checked prior to (and again after) adjusting for maximum vacuum. When I turn another winged bowl, I will be sure to video the process. As the saying goes, a picture (or video) is worth 1000 words.


